Vinyl Floor Polishing
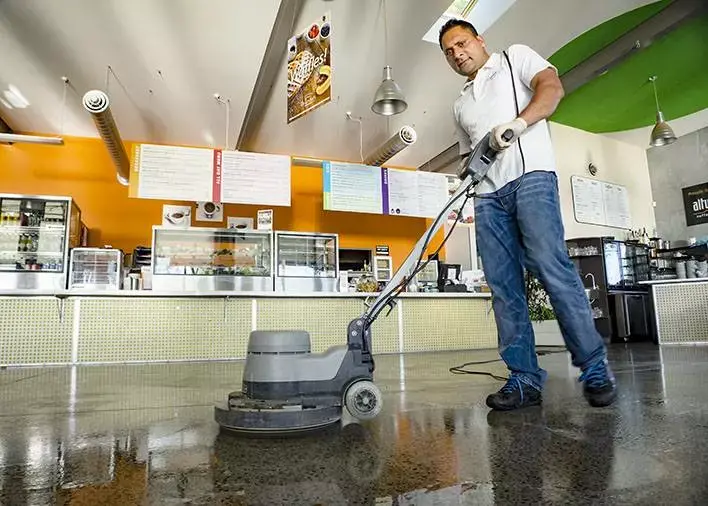
Vinyl floors are a smart choice for busy spaces like schools, offices, factories, gyms, and showrooms. They’re durable, long lasting, and easy to care for — but to keep them looking their best, regular polishing is essential. The polish or sealer that gives vinyl its clean, glossy finish also protects it from scratches and wear. Over time, this layer dulls and wears away, especially in high-traffic areas or when harsh cleaning products are used. Without proper maintenance, the surface becomes harder to clean and more vulnerable to damage.
At Cleanme, we make vinyl floor care quick, simple, and effective. Our experienced team specialises in floor polishing and restoration that not only brings back the shine but also protects your floors for the long term. We use high-quality sealers that create a smooth, easy-to-clean surface while improving grip and reducing slip risks — a key safety benefit often overlooked.
Many companies offer floor polishing, but few know how to properly restore vinyl. Simply applying more polish may make floors look shiny for a short time, but it doesn’t solve the problem — it traps dust, scratches easily, and costs more over time.
Cleanme takes a better approach. Our three-step restoration process revives your floors the right way, ensuring they stay attractive, safe, and durable. We believe in honest advice, long-lasting results, and protecting your investment so your floors continue to perform year after year.
Contact us now to discuss your vinyl floor polishing needsCall 0800 253 265
The CleanMe Three Step Vinyl Floor Polishing Process
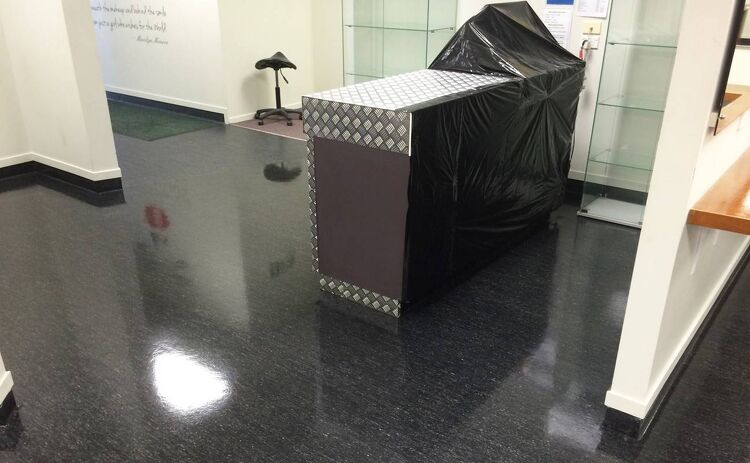
1. Stripping the existing floor
This is the most important stage of floor restoration. Proper preparation determines how good the final result will look. Many companies use harsh chemical strippers to remove dirt and old polish layers, but these chemicals are caustic, damage the environment, and can strip paint from skirting boards or stain walls beyond repair.
At Cleanme, we use a safer and more effective method. We attach a dense, non-scratch grit pad to our buffing machines, which spin at high speed to lift dirt and polish without the need for chemicals. We then mop the floor with clean water after every few square metres to remove residue. The result is a clean, dry surface ready for polishing.
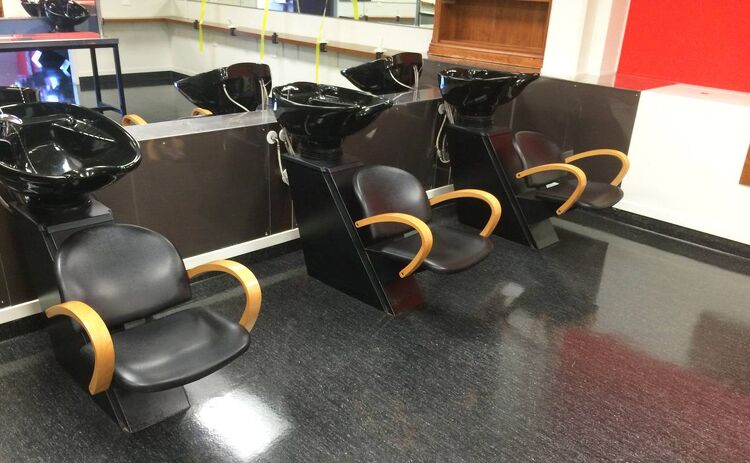
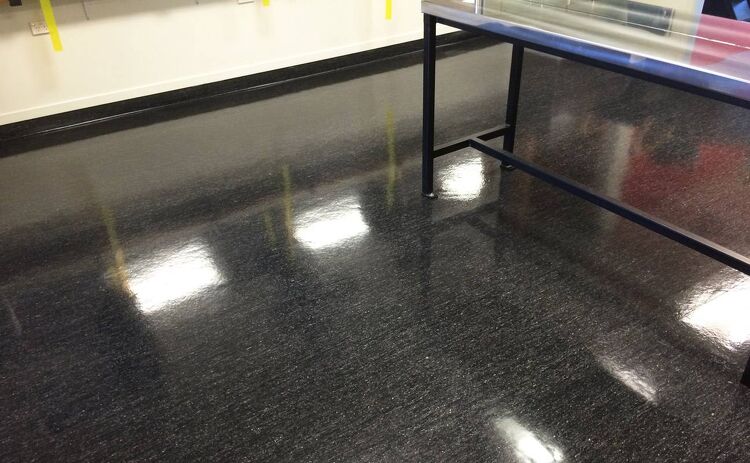
2. Applying the sealer or polish
This is when the floor starts to come back to life. We apply a high-quality sealer or polish using an applicator, typically in three to four coats depending on how glossy you want the finish and the condition of the floor. Each coat is left to dry for 30–45 minutes in a well-ventilated area. Proper drying between coats ensures a lasting, even finish that looks clean and professional.
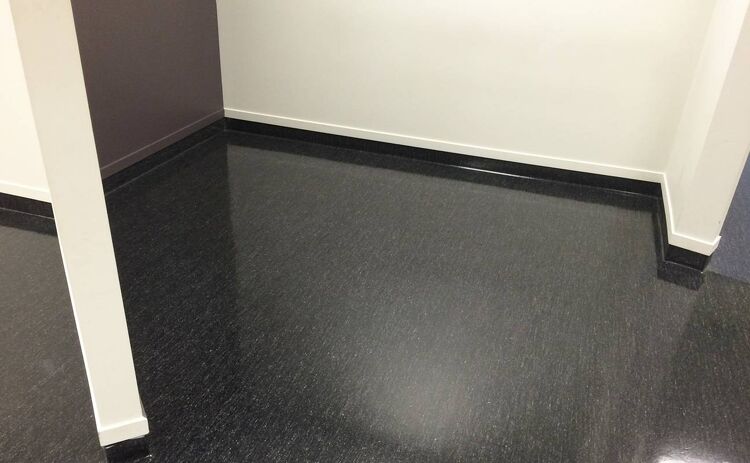

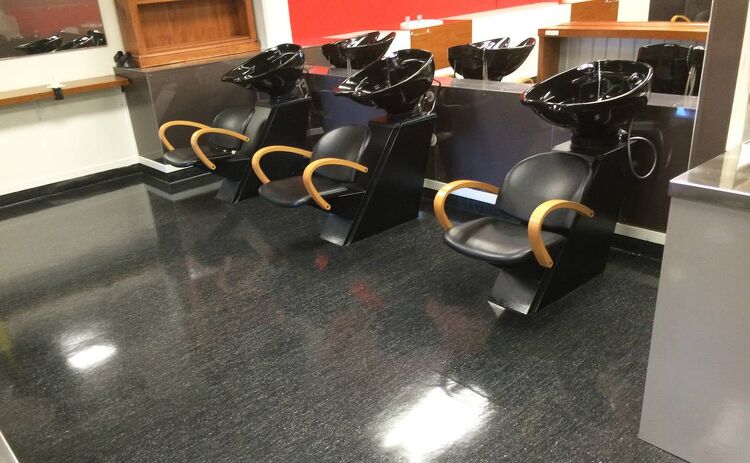
3. Final buff and shine
Once the final coat has dried, we use a gentle, non-scratch pad on the buffing machine to lift the gloss to a higher level and complete the restoration.
After restoration, we give practical advice on maintaining your floors. Polished vinyl floors are quick to clean and easy to keep looking fresh. We can also create a tailored maintenance plan to suit your site, helping your floors stay bright and safe all year round.
Our franchise managers follow up twice a year to inspect your floors and recommend touch-ups if needed. In many cases, a full restoration isn’t required — sometimes a single coat of polish or a light buff is enough to bring back the shine. We’ll always assess your needs, work to your schedule and budget, and provide the best solution for your space.